Introduction
In 2017, I participated in and won a challenge promoted by FLIR® and the BeagleBoard.org Foundation. The project that I developed used a FLIR® Lepton3 module and a BeagleBone Blue to detect and track people using thermal imaging.
This tutorial explains how to interface the FLIR® Lepton3 module with NVIDIA® Jetson™ devices, including wiring, configuration, and software integration.
The FLIR® Lepton3
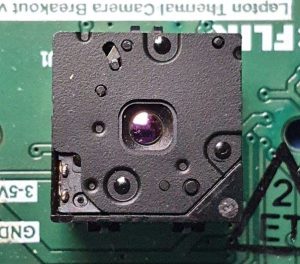
The FLIR Lepton® is a radiometric-capable LWIR camera solution that is smaller than a dime, fits inside a smartphone, and is one-tenth the cost of traditional IR cameras. Using focal plane arrays of either 160×120 or 80×60 active pixels, Lepton easily integrates into native mobile devices and other electronics as an IR sensor or thermal imager. The radiometric Lepton captures accurate, calibrated, and non-contact temperature data in every pixel of each image.
The FLIR module uses two communication protocols:
- I²C - Controls sensor settings and configuration
- SPI - Transmits thermal image data
Technical Specifications
Key specifications of the FLIR® Lepton3:
- Resolution: 160×120 pixels (19,200 thermal pixels)
- Spectral Range: 8 µm to 14 µm (longwave infrared)
- Scene Temperature Range: -10°C to +400°C (14°F to 752°F)
- Thermal Sensitivity: < 50 mK (0.050°C)
- Field of View: 57° (horizontal) × 43° (vertical)
- Frame Rate: 8.6 Hz
- Input Clock: 25 MHz
- Power Consumption: Typical 150 mW, max 180 mW
- Weight: < 0.9 grams
- Dimensions: 10.5mm × 12.4mm × 6.0mm
The compact form factor makes it ideal for embedded applications and mobile devices.
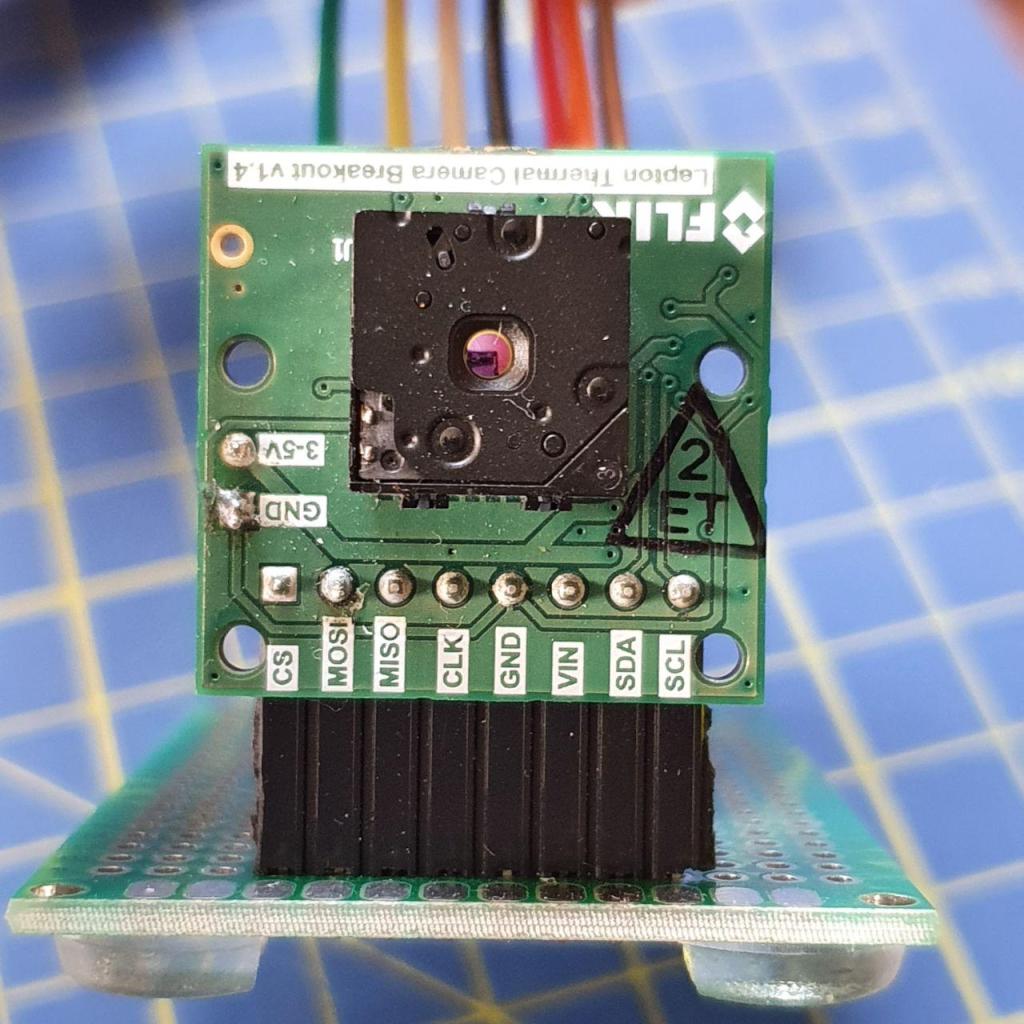
The Breakout Board
The FLIR® Lepton3 module requires a breakout board for connectivity, when not integrated into a device. I use the GroupGets FLIR breakout board v1.4, which is no longer available. The PureThermal Breakout Board is a suitable alternative.
The breakout board provides all required voltages, I²C pull-ups, and clock signals, simplifying integration.
Recent boards include a VSYNC signal for improved frame synchronization.
Wiring the FLIR® Lepton3 to NVIDIA® Jetson
The following diagram shows the connections between the FLIR® Lepton3 breakout board and NVIDIA® Jetson:
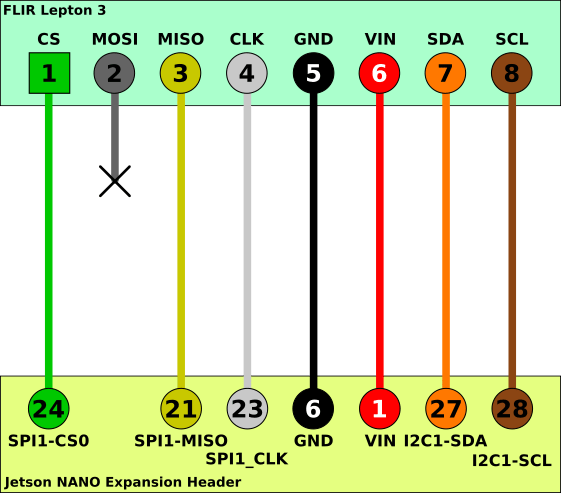
Connection Table
The following table shows connections for the NVIDIA® Jetson Nano development kit. Other Jetson models with a 40-pin GPIO header (e.g., Jetson Orin Nano, Jetson AGX Orin) use similar connections but may have different pin assignments. Consult your specific model’s pinout documentation.
| FLIR Lepton3 Pin | Signal | Jetson Pin | Jetson GPIO | Wire Color |
|---|---|---|---|---|
| 1 | CS | 24 | SPI1-CS0 | Green |
| 2 | MOSI | N.C. | N.C. | - |
| 3 | MISO | 21 | SPI1-MISO | Yellow |
| 4 | CLK | 23 | SPI1-CLK | White |
| 5 | GND | 6 | GND | Black |
| 6 | VIN | 1 | 3V3 | Red |
| 7 | SDA | 27 | I2C1-SDA | Orange |
| 8 | SCL | 28 | I2C1-SCL | Brown |

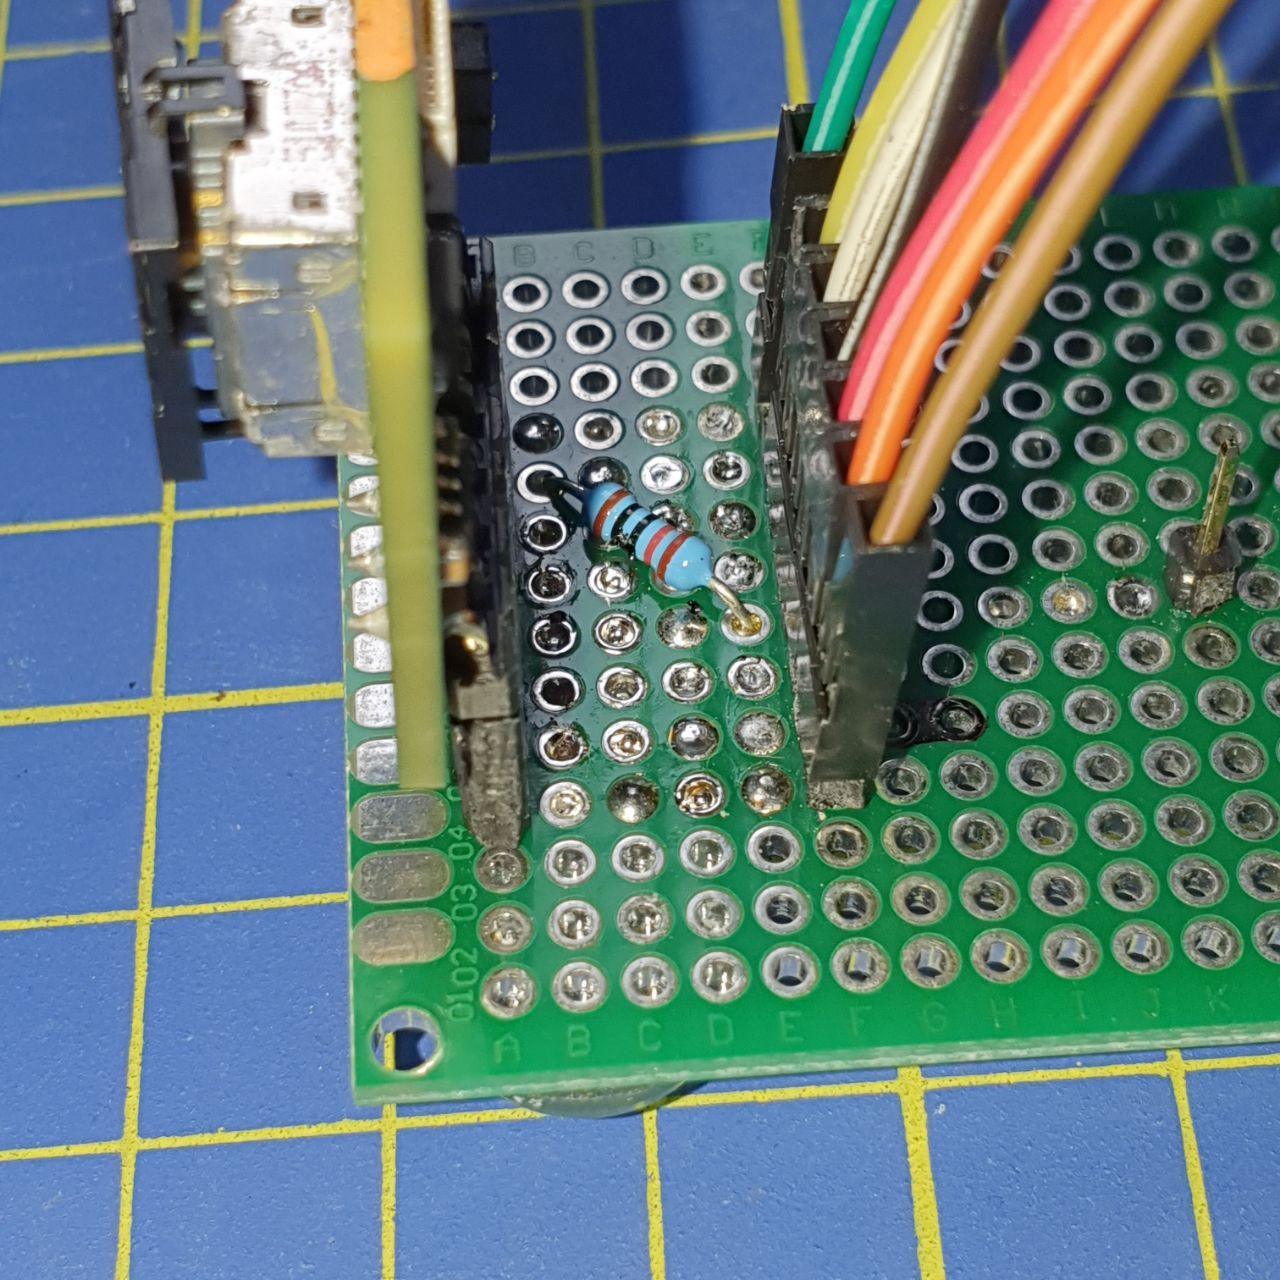
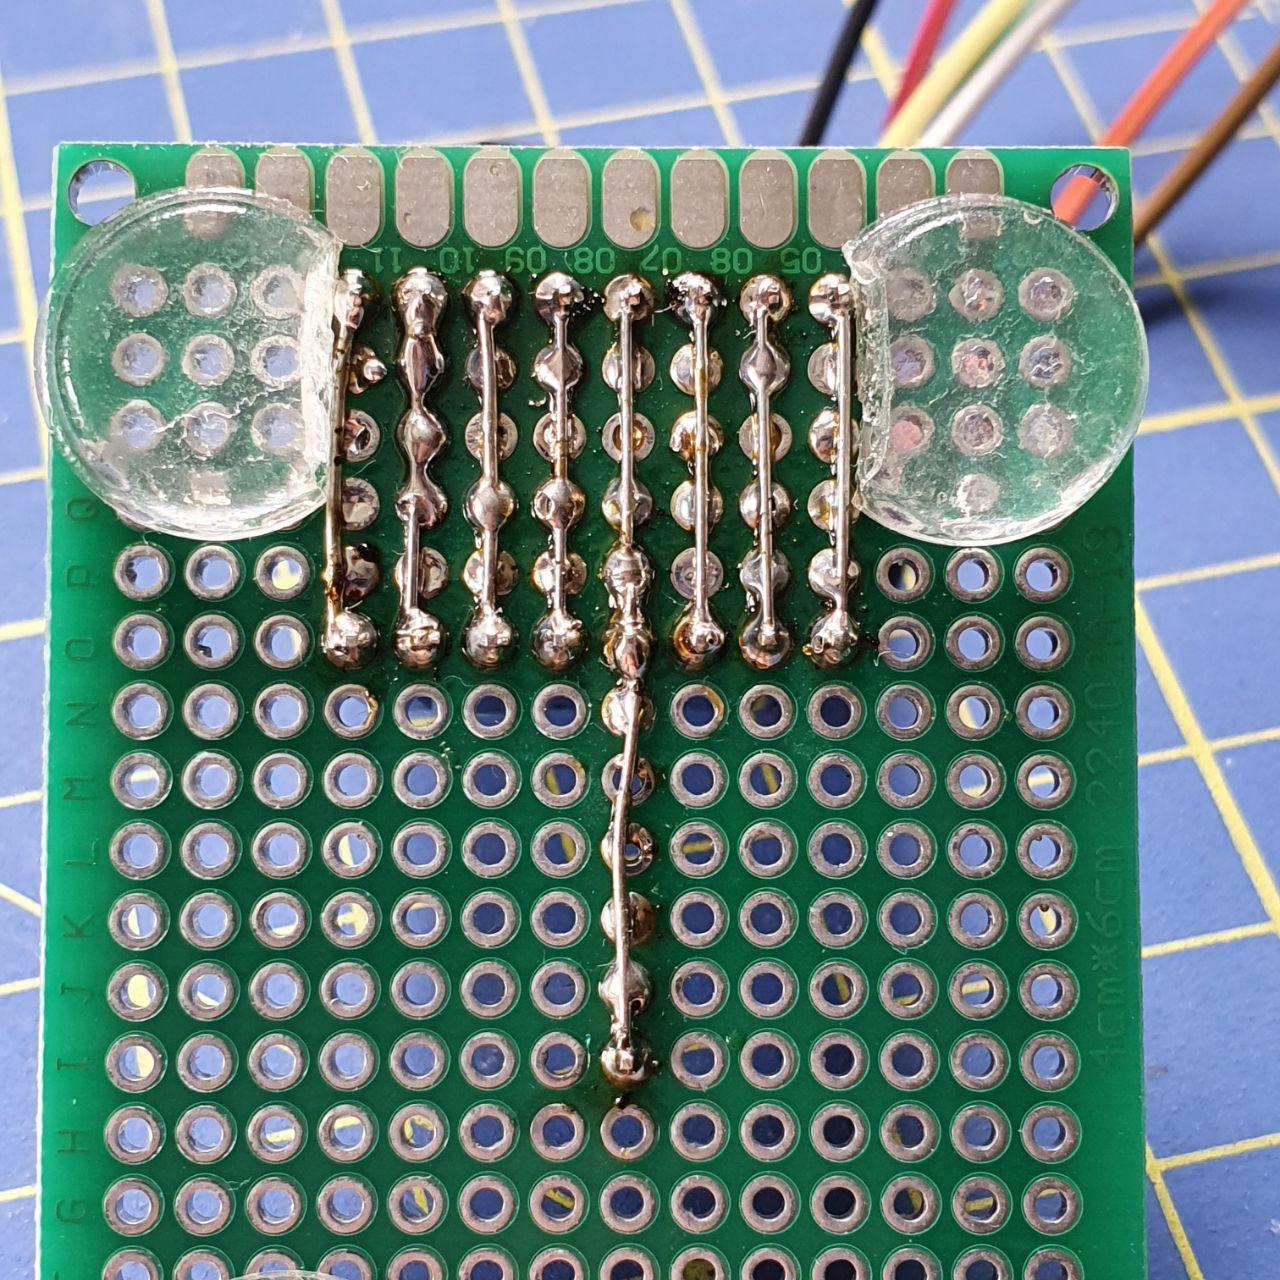
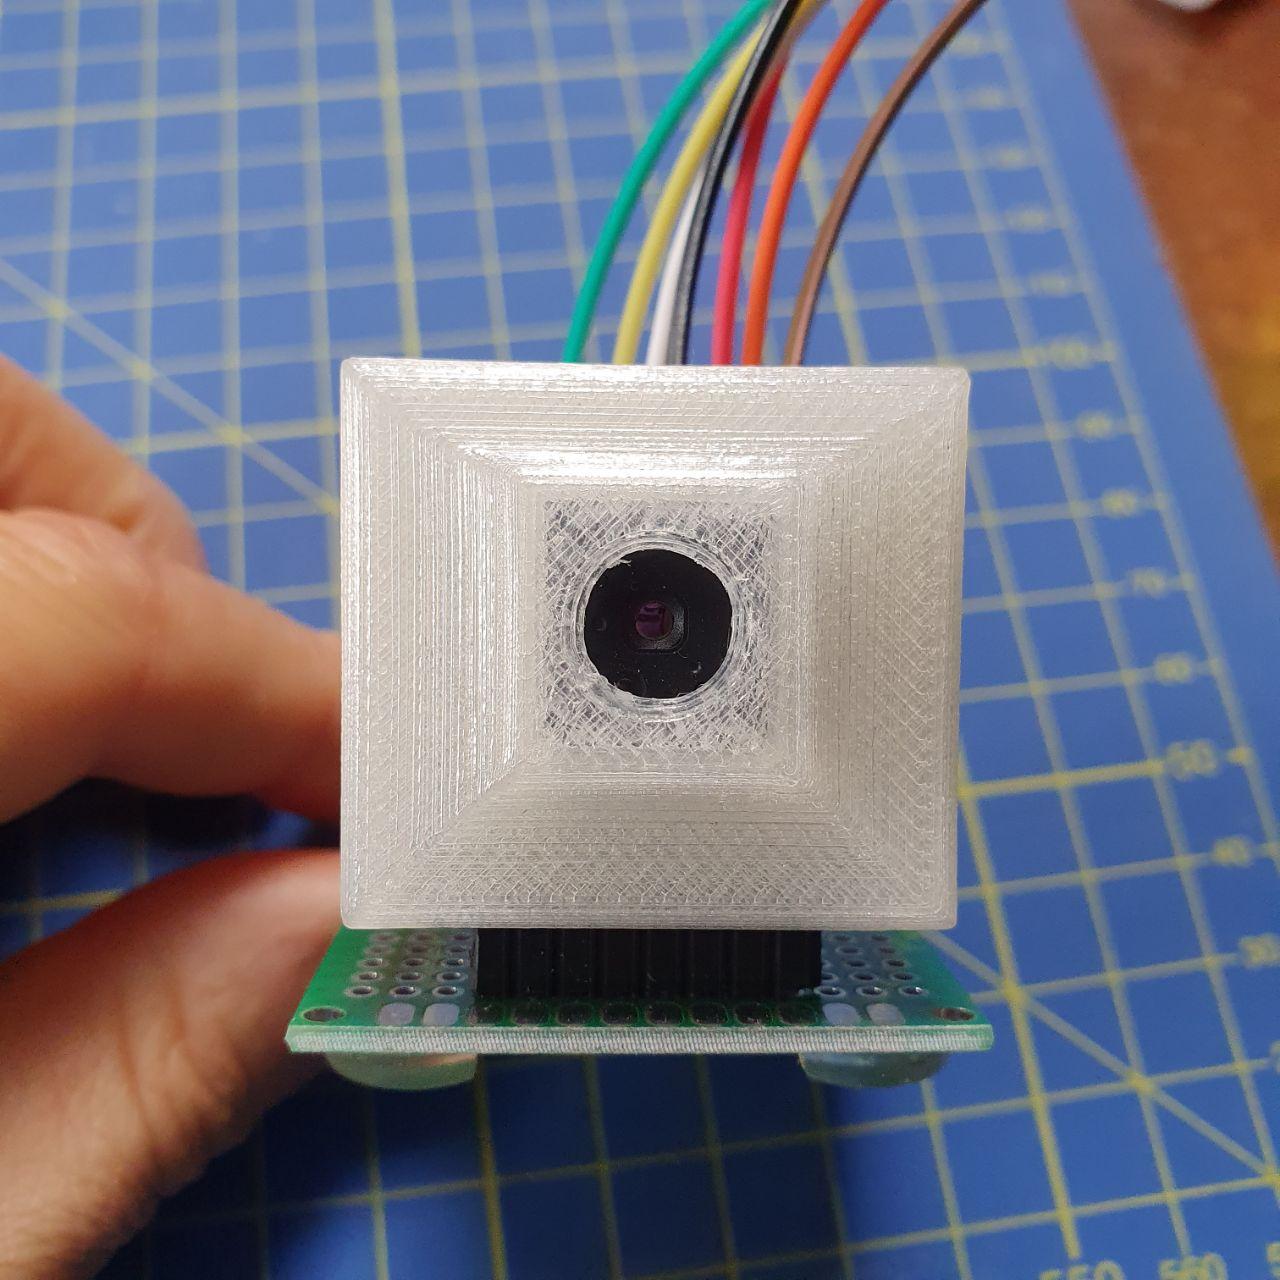
I created a carrier board using a protoboard to mount the FLIR® Lepton3 vertically, but you can connect cables directly to the breakout board headers.
Optional: Add a 10KΩ resistor between MOSI and GND for improved connection stability.
Configure the NVIDIA® Jetson
Enable SPI
Enable the SPI port on your Jetson™ using the Jetson-IO tool. Visit the JetsonHacks blog and follow the guide to enable SPI1 on pins 19, 21, 23, 24, and 26 of the expansion header (J41) on the NVIDIA® Jetson™ Nano Developer Kit.
Change SPI Buffer Size
The default SPI buffer size is 4096 bytes. The Lepton3 requires 20KB to retrieve a full segment of thermal image data.
Temporary Method (Lost After Reboot)
Remove the spidev module:
sudo rmmod spidev
Reload it with the new buffer size:
sudo modprobe spidev bufsiz=20480
Permanent Method
Create a modprobe configuration file:
sudo nano /etc/modprobe.d/spidev.conf
Add the following line:
options spidev bufsiz=20480
Save the file and reboot.
Verify Buffer Size
Check the buffer size:
cat /sys/module/spidev/parameters/bufsiz
Expected output: 20480
Verify the I²C Connection
Check that the FLIR® Lepton3 is detected on the I²C bus:
i2cdetect -y -r 0
Where 0 is the I²C bus number (I2C1 corresponds to bus 0 on Jetson Nano).
The FLIR® Lepton3 module should appear at address 0x2a:
     0  1  2  3  4  5  6  7  8  9  a  b  c  d  e  f
00:          -- -- -- -- -- -- -- -- -- -- -- -- --
10: -- -- -- -- -- -- -- -- -- -- -- -- -- -- -- --
20: -- -- -- -- -- -- -- -- -- -- 2a -- -- -- -- --
30: -- -- -- -- -- -- -- -- -- -- -- -- -- -- -- --
40: -- -- -- -- -- -- -- -- -- -- -- -- -- -- -- --
50: -- -- -- -- -- -- -- -- -- -- -- -- -- -- -- --
60: -- -- -- -- -- -- -- -- -- -- -- -- -- -- -- --
70: -- -- -- -- -- -- -- --
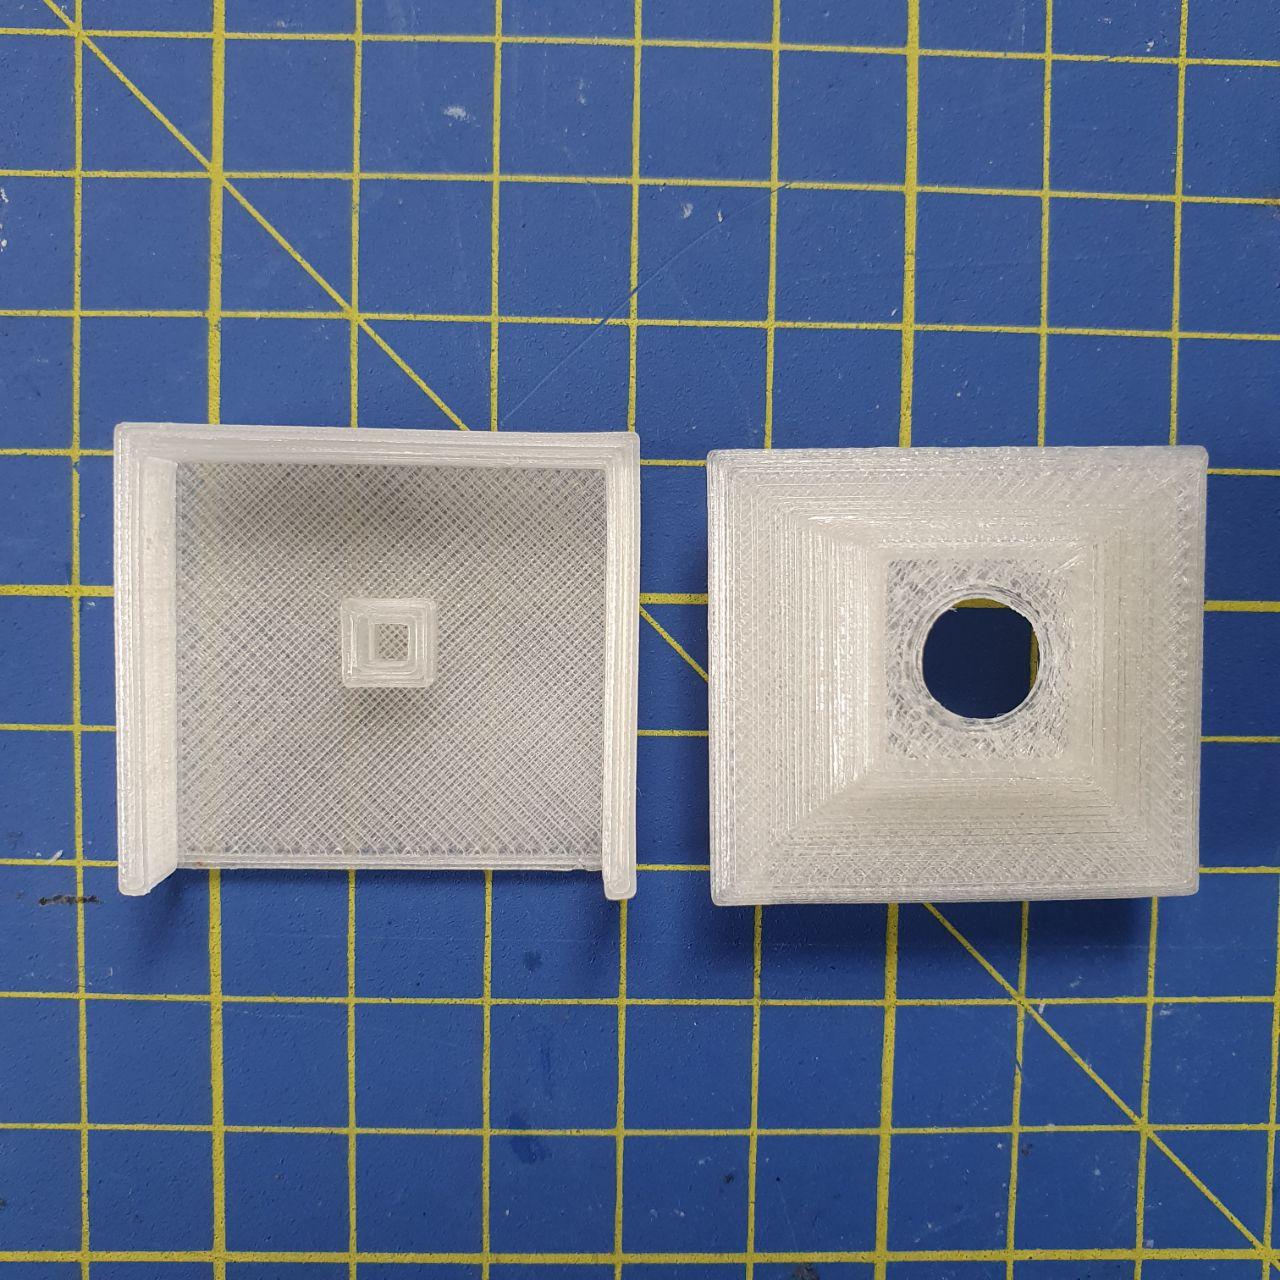
3D Printed Enclosure
I designed a 3D printed enclosure to protect the breakout board. You can download the STL files from MakerWorld.
Software
I’ve developed a C++ library to interface with the FLIR® Lepton3 using I²C commands for sensor control and SPI communication for thermal image retrieval.
GitHub Repository: Lepton3_Jetson
The repository includes example code demonstrating how to capture and display thermal images using OpenCV.
Demo Application: COVID-19 Temperature Screening
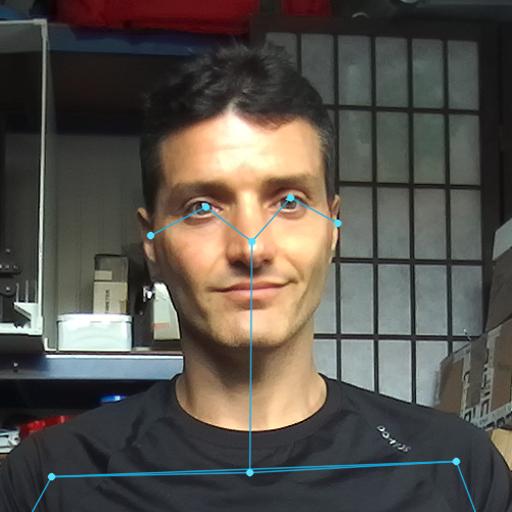
During the COVID-19 pandemic, I created a demo application that measures human body temperature and triggers visual alerts when the temperature exceeds 37.5°C (99.5°F).
Features
- Real-time temperature measurement
- Visual alerts for elevated temperatures
- Fever simulation mode (adds offset to temperatures in human range)
- Fully commented and documented code
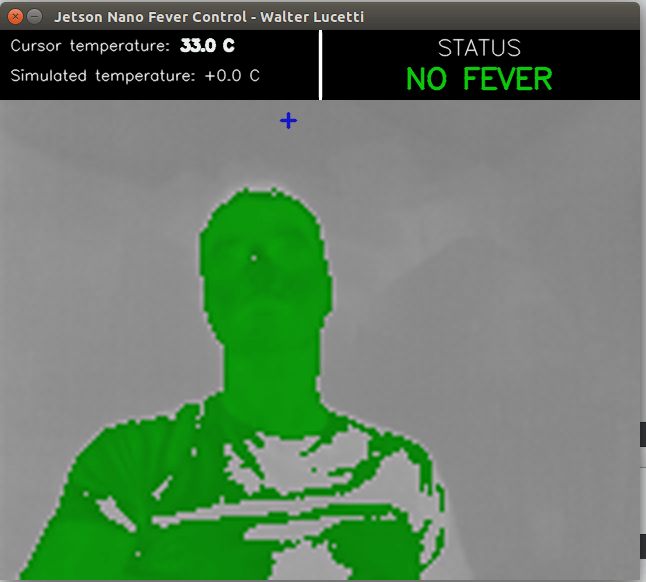
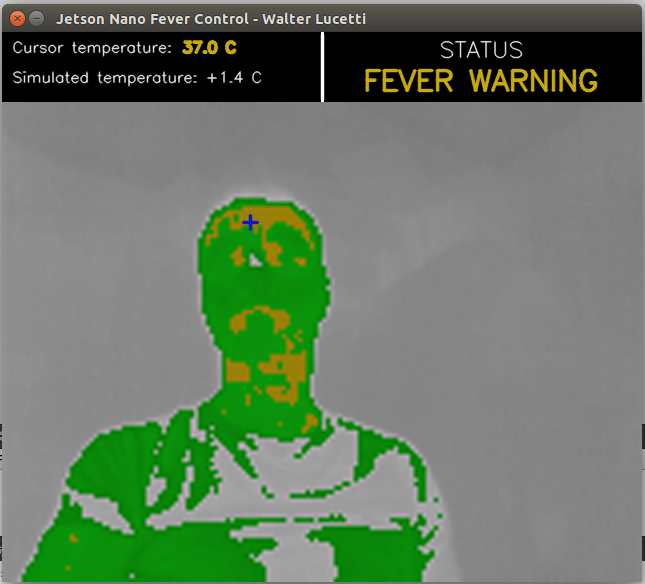
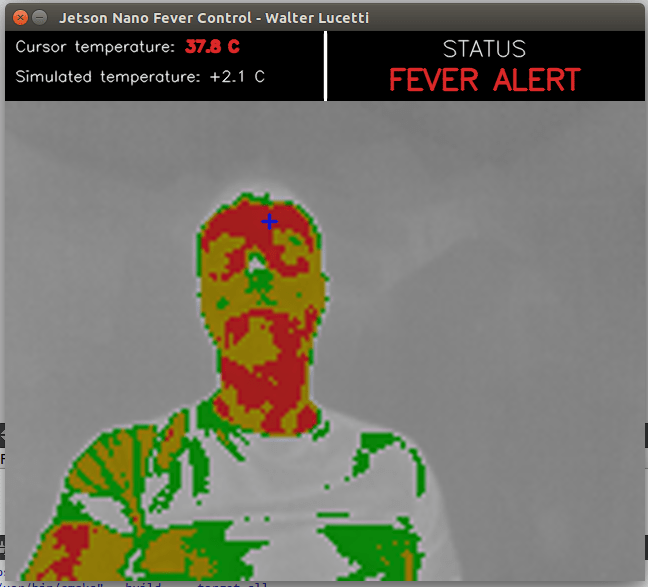
The application demonstrates practical use of thermal imaging for health screening. The code is available in the GitHub repository.
Conclusion
If you have questions about the implementation, feel free to contact me.